
 DETEXI® Network Video Management System DETEXI® Network Video Management SystemEXPAND YOUR CONCEPTS OF SECURITY |
 |
 |
| Javascript Tree Menu | |||||||
|
|
|||||||
|
|
— Install DETEXI Software — NVR / Client Installation —
Install DETEXI Software
NVR / Client Installation
1. Choose DETEXI Installation Type
DETEXI NVR Setup —
1. Run the DETEXI NVR Setup Wizard
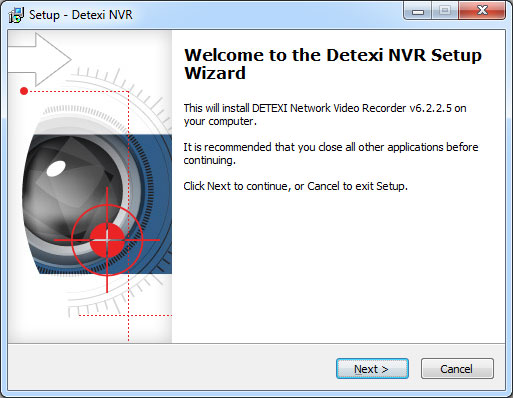
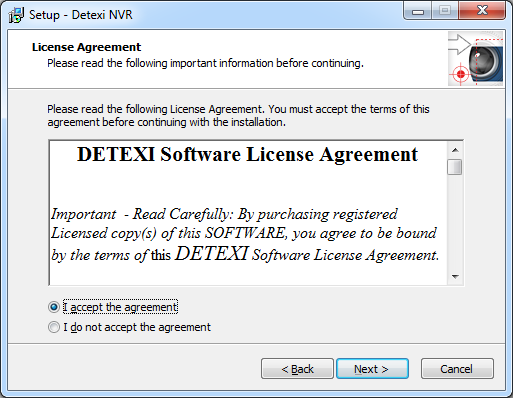
2. Read the license agreement information. Select I accept the agreement and click Next.
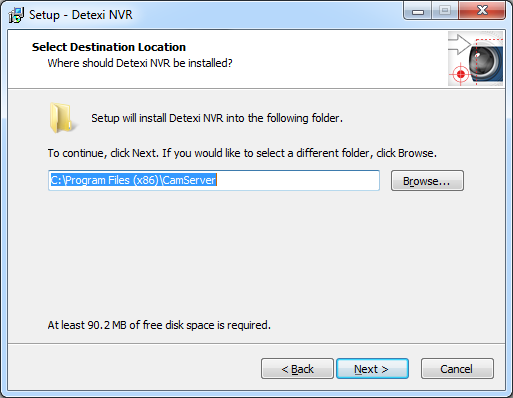
3. Select DETEXI NVR location and click Next.
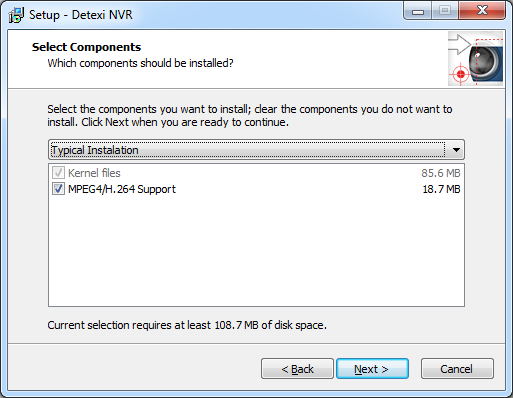
4. Select Components and click Next.
5. If the DETEXI NVR Server will be used for recording video information, just click Next. If you are going to use external storage — specify, first, User Account to start NVR services.
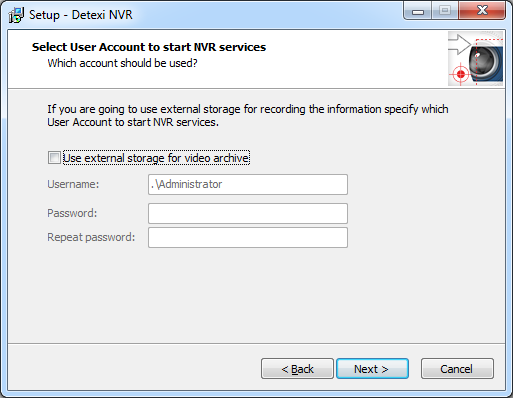
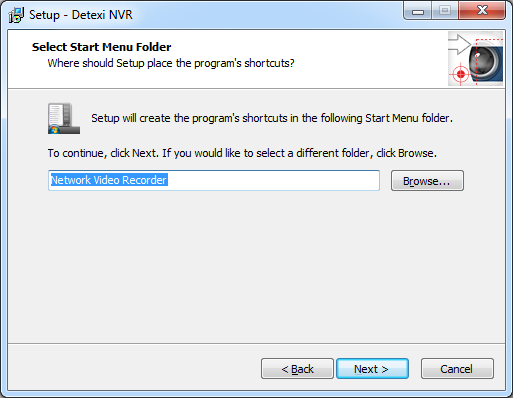
6. Create Start Menu folder for the program’s shortcuts and click Next.
 7. Check Create Desktop Icons checkbox and click Next.
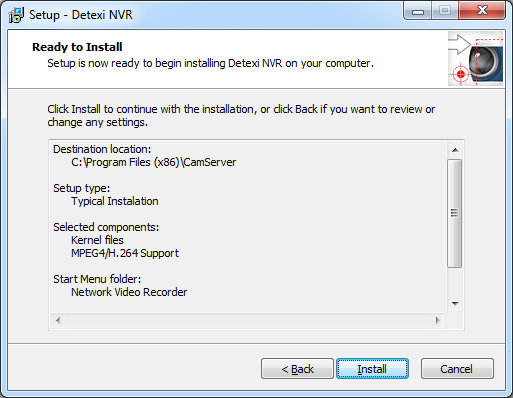
8. Click Install to continue with the installation, or click Back if you want to review /change the settings.
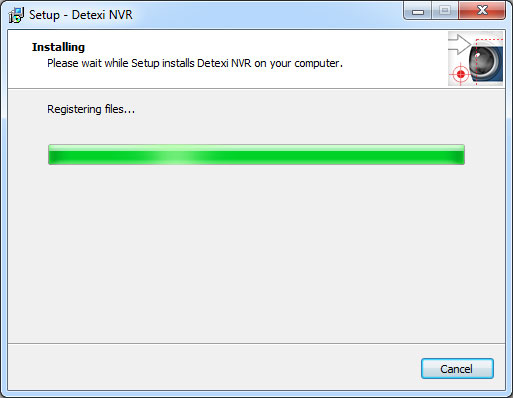
 9. Wait until setup is complete. This can take several minutes.
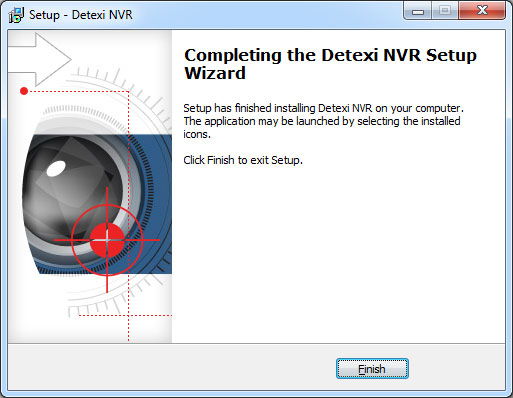
10. Click Finish to exit Setup.
 — Install DETEXI Software — Licensing —
Install DETEXI Software
Licensing
Cameras and licenses can be added one by one and the system hardware and/or software can be expanded to meet increased performance requirements.
The DETEXI NVR will limit the number of video inputs (network cameras or analogue cameras connected to video encoders) and the number of simultaneous Remote Client connections based on the NVR’s license.
License Types
Base and Upgrade Licenses
To purchase the DETEXI Video Management System software you should acquire a base license for a defined number of video inputs (network cameras or analogue cameras connected to video encoders). A base license includes DETEXI NVR and 1 Remote DETEXI Client simultaneous connection. The first license installed on the system must be a base license. Thereafter, customers may purchase additional upgrade licenses to upgrade the number of video inputs and/or simultaneous connections.
Support & Software Upgrade Licenses
Purchase of 1 or 2-year support license is required for all DETEXI software products. It will grant you technical telephone support (8:00 am - 5:00 pm ET) and software upgrades as needed for a defined period of time. UCIT Online recommends that support licenses be constantly renewed for continuous technical support and future software upgrades.
The license includes the DETEXI NVR Domain Controller and defines a number of child NVRs in the NVR network. 5 Remote DETEXI Client simultaneous connections are also included. To add defined number of child NVRs to the multi-site NVR network purchase child upgrade license.
— Install DETEXI Software — Registration —
Install DETEXI Software
Registration
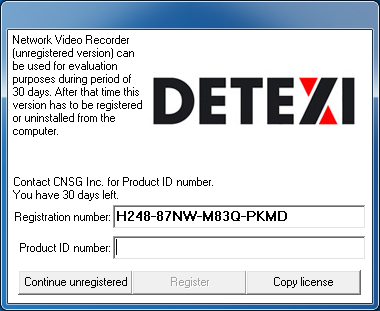
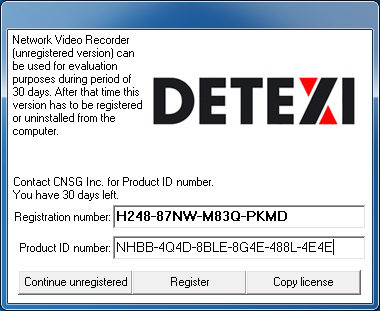
When the DETEXI NVR is first installed, it will be in demo mode for 30 days. Within the 30 days of demo mode Continue Unregistered button is active.
If you are currently running the DETEXI NVR demo version and wish to switch to the full version of the NVR, you have to register the software.
To register the DETEXI NVR, first, communicate the Registration Number to your DETEXI dealer. You will be provided a Product ID and License Key file.
The License Key can be used for only one current installation. Once registered it cannot be used again. The License Key is your proof of purchase.
Register DETEXI NVR —
1. Place the License Key file to a directory of your choice.
2. Launch the NVR Control Center using the shortcut on the desktop. If it is already running, close and launch it again.
3. Click Copy License button.
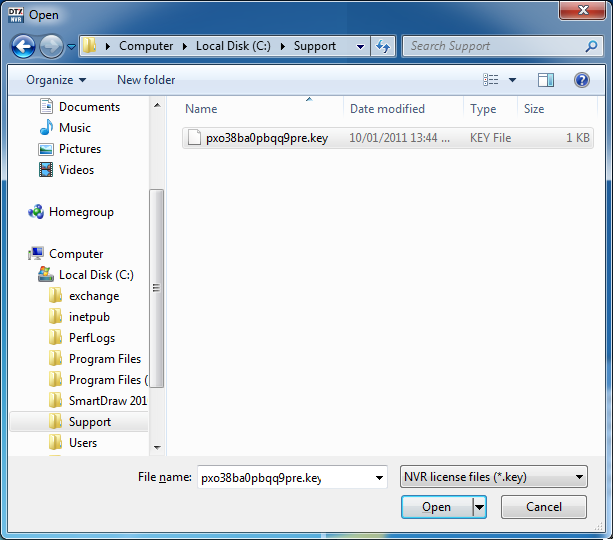
4. Open provided License Key file.
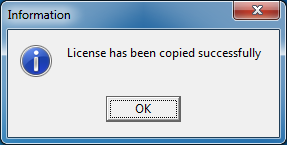
5. Copy provided Product ID in the appropriate field — the Register button will become active. Press the button to complete registration.
Get DETEXI NVR Registration Information
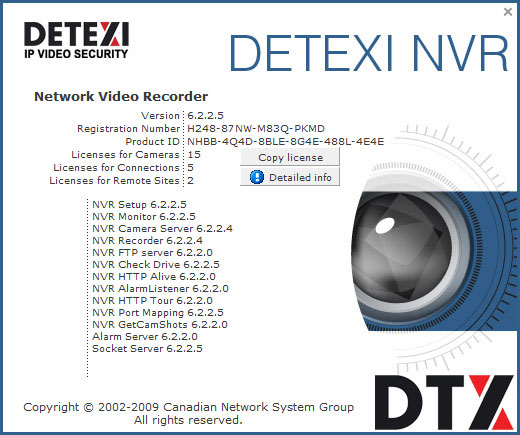
1. To get the software registration and license information — in the NVR Control Center click on the Advanced tag and press About button, the DETEXI NVR About splash screen appears.
2. Click Copy License button to copy the License Key file.
3. For more information click Detailed Info button.
|
||||||