
 |
 DETEXI® Network Video Management System DETEXI® Network Video Management SystemEXPAND YOUR CONCEPTS OF SECURITY |
   |
 |
| Javascript Tree Menu | |
|
|
|
|
|
— DETEXI Client — Multi-camera View —
DETEXI Client
Multi-camera View
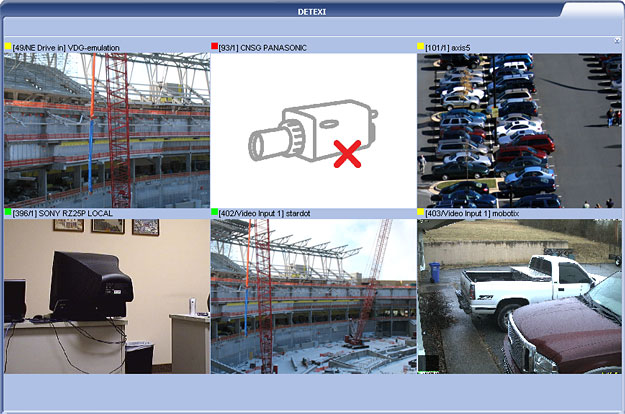
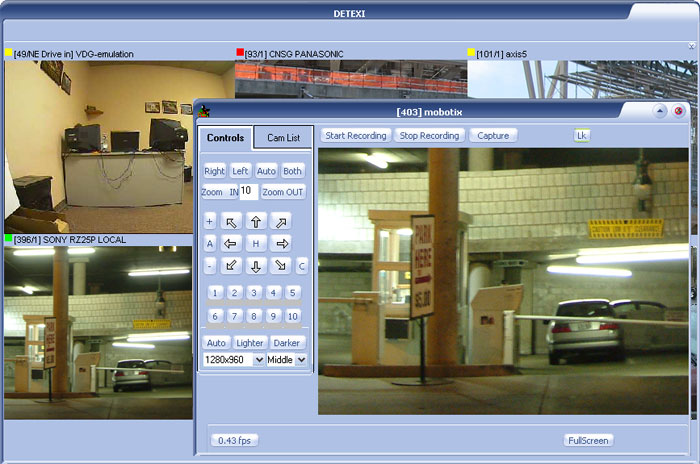
The Multi-camera View provides a quick way of viewing multiple cameras.
Live Status Indicator — each camera video stream in the Multi-camera View has a colored box icon next to the camera name, indicating the status of the video. If the indicator is red, the live stream is halted. A flashing yellow/green indicator means live video is currently streaming.
Standard Tiling — all cameras’ views will be the same size, dynamically sized and tiled with the least wasted space. The Multi-camera View can be changed via Tiling buttons.
The Single Camera View can be launched from the Multi-camera View for any camera in the group.
— DETEXI Client — Multi-camera View — Tiling —
DETEXI Client
Multi-camera View — Tiling
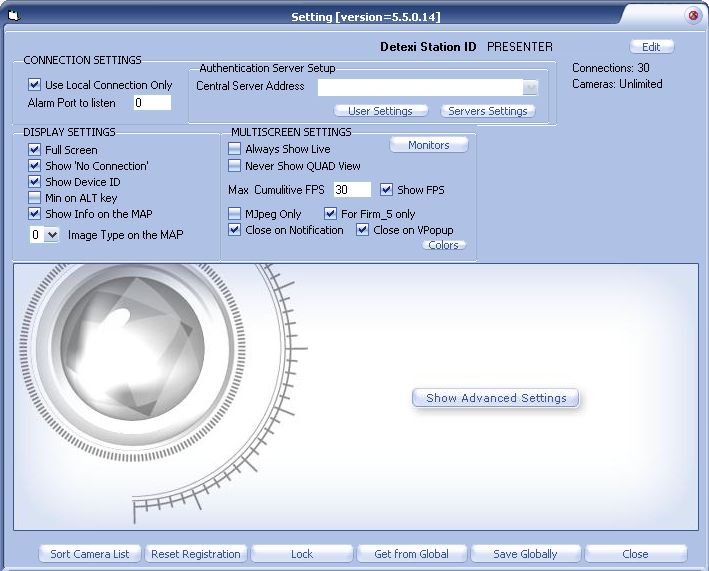
If in the Settings under the DISPLAY SETTINGS the Full Screen checkbox is checked the Tiling buttons appear in the upper right corner of the Multi-camera View.
Press one of the Tiling buttons — S, 6 and 12 — to change the Multi-camera View.
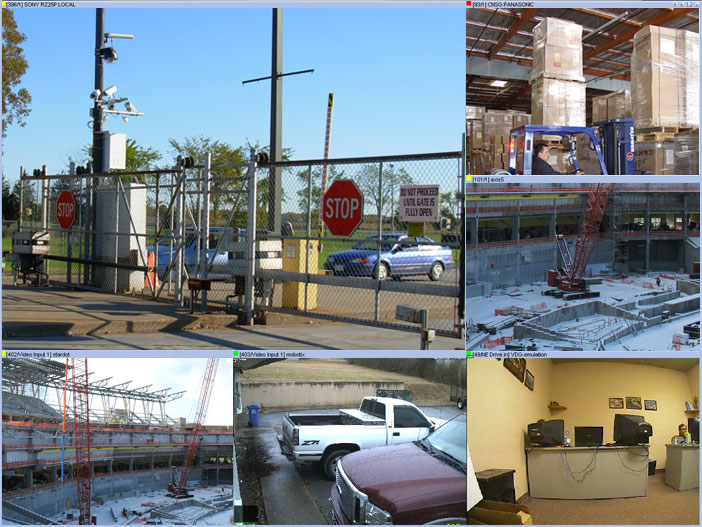
To show the camera of choice in the large position —
— DETEXI Client — Multi-camera View — Launch Single Camera View —
DETEXI Client
Multi-camera View — Launch Single Camera View
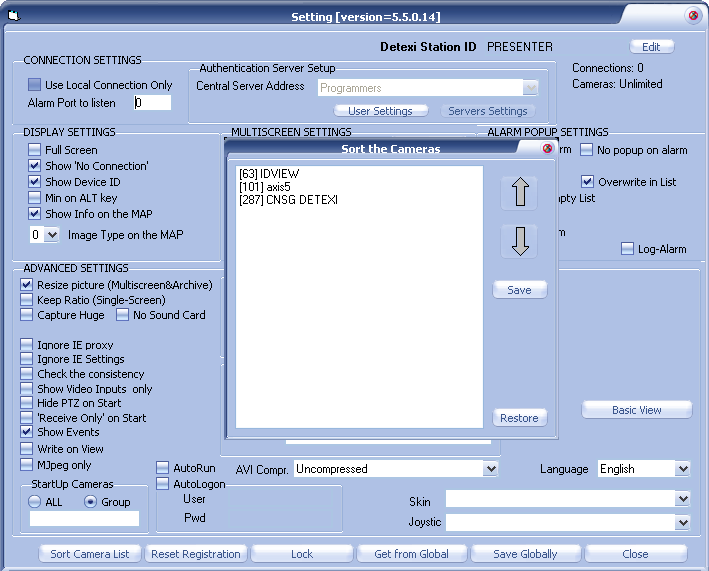
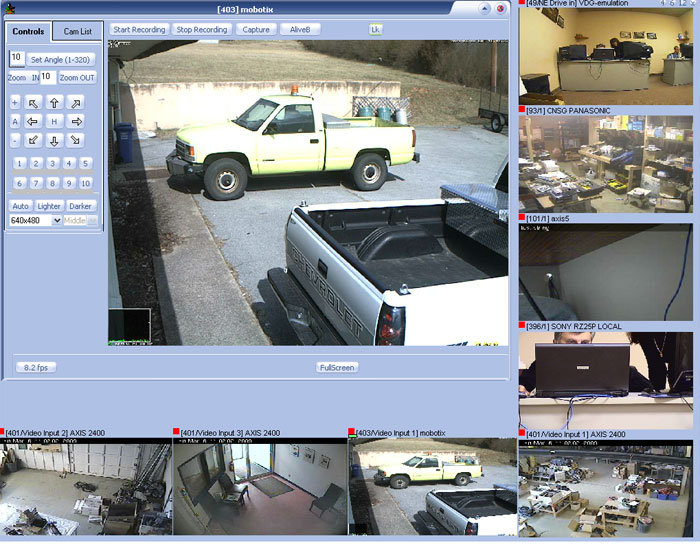
GOTO option, available by right-clicking on any camera video stream in the Multi-camera View, launches the Single Camera View for the selected camera in front of the Multi-camera View providing access to the various camera controls.
To change the video stream being viewed in the Single Camera View drag and drop any other camera view from the Multi-camera View on top of the current Single Camera View.
Enlarge option is available by right-clicking on any camera video stream in the Multi-camera View . It enlarges the selected camera view and displays the camera controls while tiling all other cameras around it.
|