Home
DETEXI® Network Video Management System
  EXPAND YOUR CONCEPTS OF SECURITY
Home   Site Map
Javascript Tree Menu
    
  • Groups of Cameras
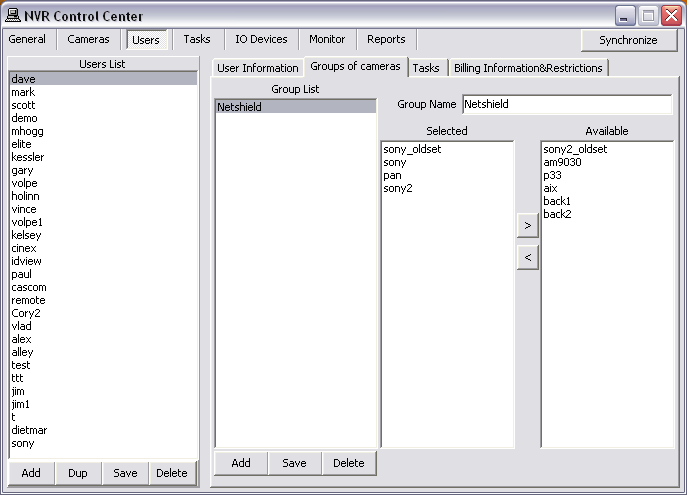
— Managing Cameras — Groups of Cameras —
Managing Cameras
Groups of Cameras
Each user can organize the cameras this user has access to into meaningful groups for more effective camera selection.
  • Setup Groups of Cameras
  • Select Group
  1. In the NVR Control Center — Users select a user from the Users List and switch to the Groups of Cameras.
  2. Press Add button below the Group List and enter Group Name — the name appears in the list.
  3. Select a camera from the Available cameras list and click "<" button to add the camera to the Selected cameras list.
  4. Press Save button below the Group List list to save the group.
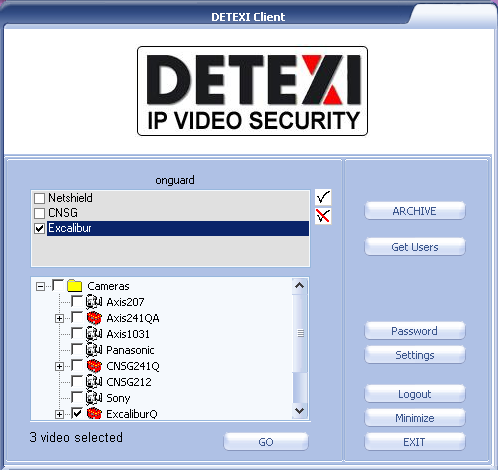
In many cases where there is a cameras list the groups list will also be provided. For example, in the Remote Client start page —
  1. Select a group from the top list to see the cameras from this group only.
  2. Select a camera from the cameras list.
  3. Click GO button to launch the camera live view.
  • In the Remote Client the cameras available in the start page cameras list will depend upon the user logged in permissions.