— Managing Cameras — Configure Sequence —
Managing Cameras
Configure Sequence
Sequence can be considered as a
virtual IP-device video input that consists of sequence of multiple video inputs with configurable order and execution. Any sequence is created by compiling IP-devices’ video inputs configured within the DETEXI NVR into a series of positions. Each position can contain one or more video inputs, splitting the screen if necessary to show all chosen video streams at once.
Sequence can be used in any way that a normal IP-device can —
- Sequences will show in the Cameras List for selection like a normal camera/ video server.
- Sequences can be viewed in the Live View (Single or Multi-camera).
- Sequence can be used as a carousel feature with the 1+5 or 1+11 multi-camera view, with the sequence in the hot spot cycling through the rest of the cameras organized around the large spot.
- Add New Sequence
- Name Sequence, Add Position
- Define Cameras
- Add More Cameras, Positions
Add New Sequence
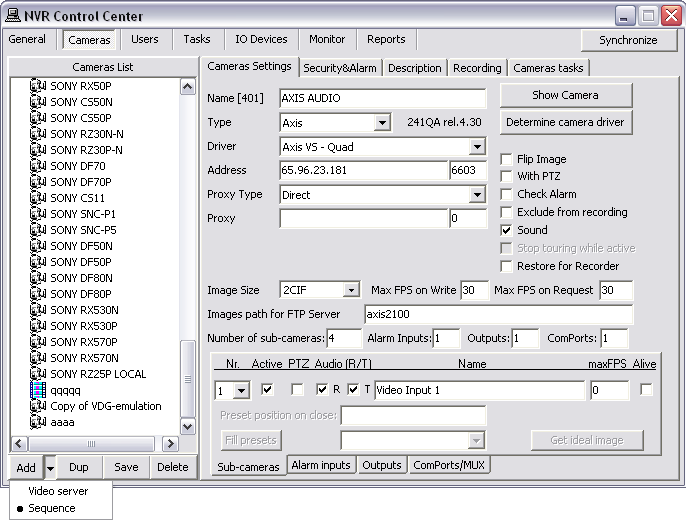
- In the NVR Control Center switch to the Cameras.
- Below the Cameras List make sure that Sequence is chosen as add type from the drop-down list next to the Add button, then click Add button to open blank Cameras Settings dialog.
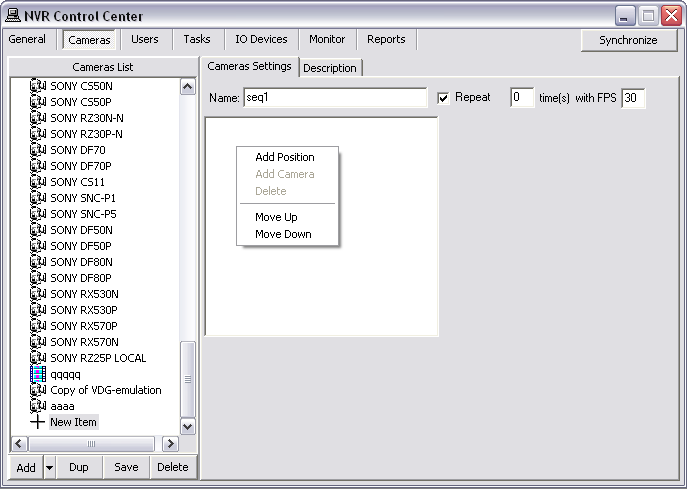
Name Sequence, Add Position
- In the Cameras Settings enter the sequence Name.
- Check Repeat checkbox to loop the sequence. Leave time(s) as 0 for the sequence to loop infinitely. You may also want to define the with FPS for the video streams to be displayed at.
- Right-click in the white box and choose Add Position to add the first position in the sequence. Define the Dwell time, as how long this position will be displayed before moving on to the next.
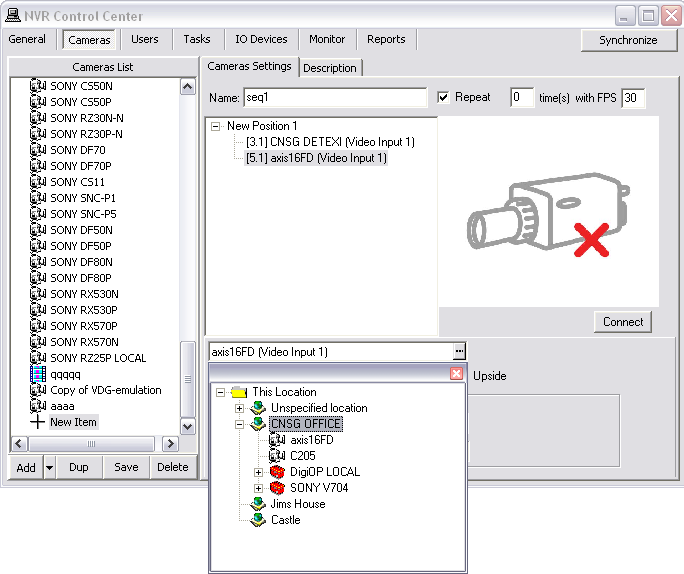
Define Cameras
- Right-click on the position item and choose Add Camera to add a video stream to the sequence position.
- Choose a desired camera from the list, and define image quality.
- If the camera is PTZ, you may define PTZ coordinates to move the camera to when it loads.
- If you would like to choose a predefined preset, click the Connect button to the right to populate the preset list. This would also bring live video in from the camera. .
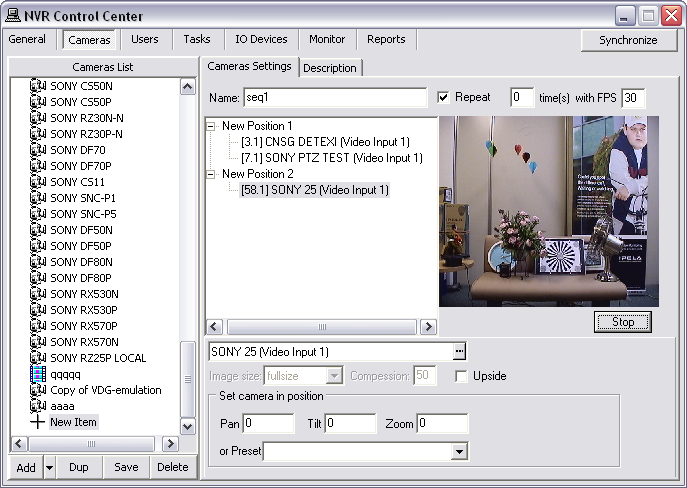
Add More Cameras, Positions
- Add more cameras to the sequence position if necessary (repeat steps 6-7).
- Add more positions to the sequence (repeat steps 5-8) until all desired positions are created.
- Click Save button below the Cameras List to save new sequence.
— Sequence — Assign Permissions —
Assign Permissions
When the sequence is created the next step is to define which users will have access to this sequence in the remote DETEXI Client. Permissions for a sequence are set exactly as they are for camera/video server.
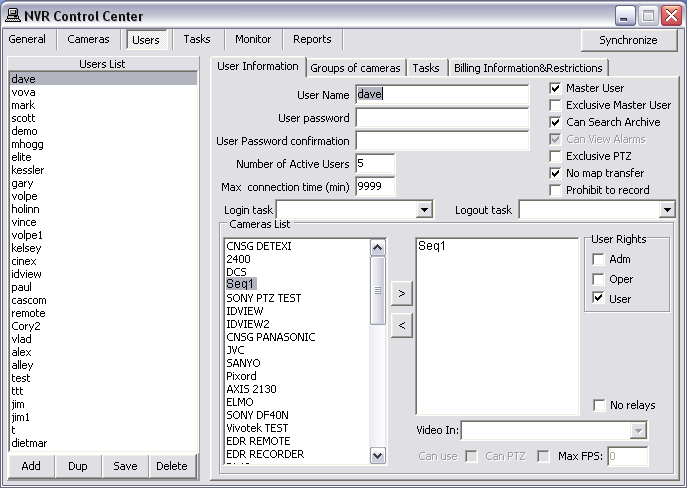
- In the NVR Control Center switch to Users.
- Select a user from the Users List.
- In the User Information select the sequence from the Cameras List at the left and click ">" button to add the permission to the user — the sequence name appears in the selected cameras list at the right.
- Select the sequence in the selected cameras list at the right.
- Check proper checkbox under the User Rights to pass the previously configured camera authentication settings — Adm, Oper or User.
- Check Can PTZ checkbox below the selected cameras list to give the user PTZ permission on the selected camera. This setting is enabled by default if the camera has PTZ capabilities when assigned to the user.
- Click Save button below the Users List to save user settings.
- Be sure that User Rights (Adm/Oper/User) settings make sense considering the authentication settings in the Security & Alarm.
- The User Rights chosen for the first camera configured will automatically be assigned to each camera after that unless manually changed.
- PTZ permission is defined on a per-camera basis, and is enabled by default if the camera has PTZ capabilities when assigned to the user.


 DETEXI® Network Video Management System


